Two jobs, three steps each.
Neither job needs a manual on the first attempt. Read the one in the box anyway, because it covers the specifics for your vehicle and ours cannot.
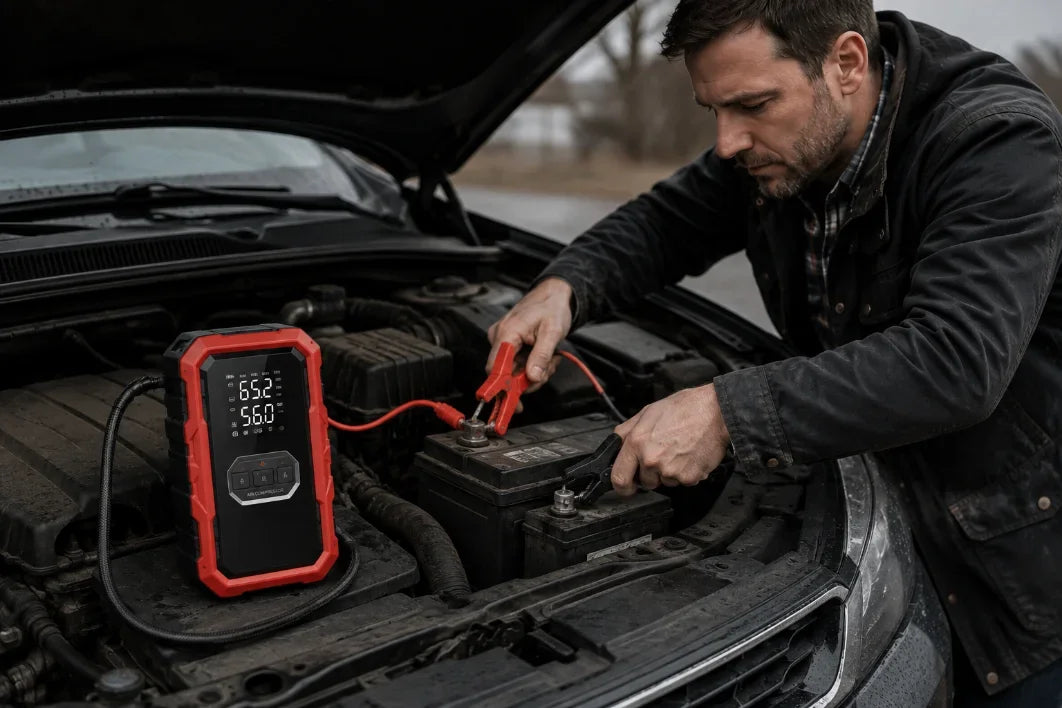
-
01ConnectClip the smart clamps onto the battery terminals, red to positive.
-
02CheckThe indicators confirm the connection is right before anything happens.
-
03StartTurn the key, then disconnect and pack the unit away as the manual instructs.
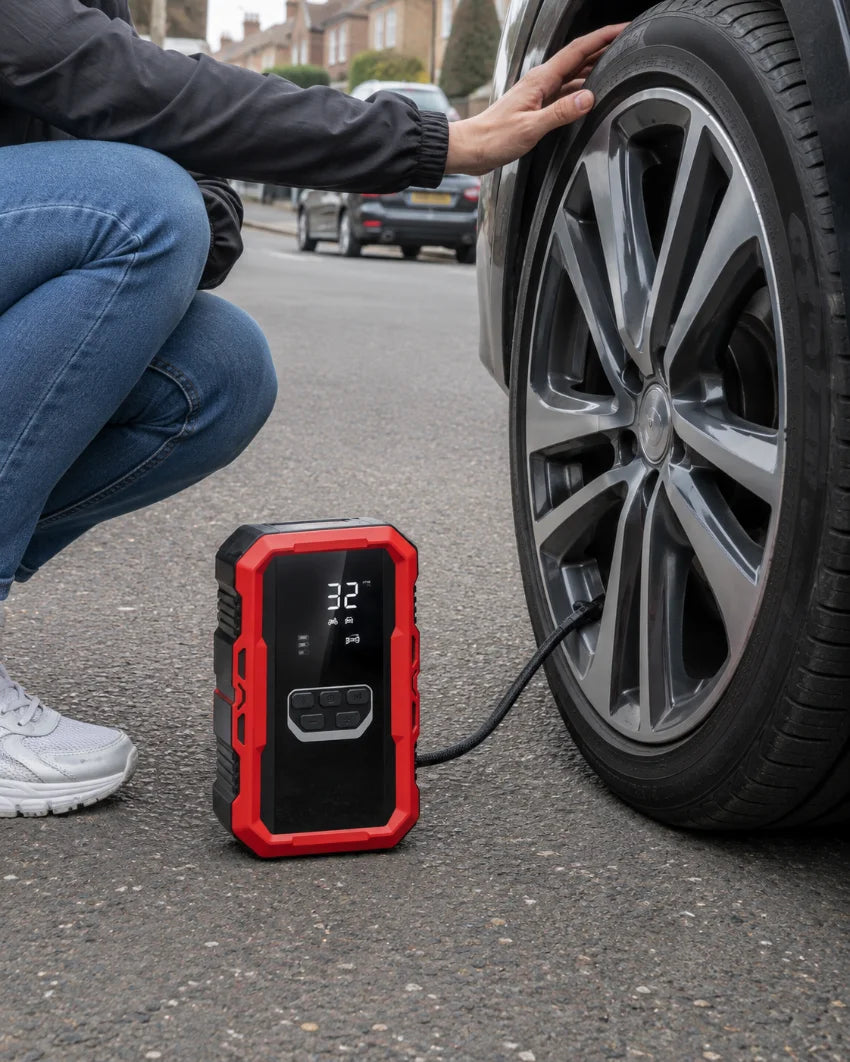
-
01ConnectScrew the braided hose onto the tyre valve. The display reads the current pressure.
-
02SetDial in the figure from your door label. PSI, BAR, KPA or kg/cm².
-
03InflateStart the compressor and watch the pressure climb on the display.
Finding the right tyre pressure takes ten seconds.
Open the driver's door and look at the frame. Most cars print their recommended pressures on a label there — one figure for a light load, a higher one for a full car with luggage.
If it isn't there, try inside the fuel filler flap or the vehicle handbook. Front and rear figures are often different, so check both.
Read the tyres cold, before you've driven. Air expands as it warms, so a hot tyre reads higher than it really is.
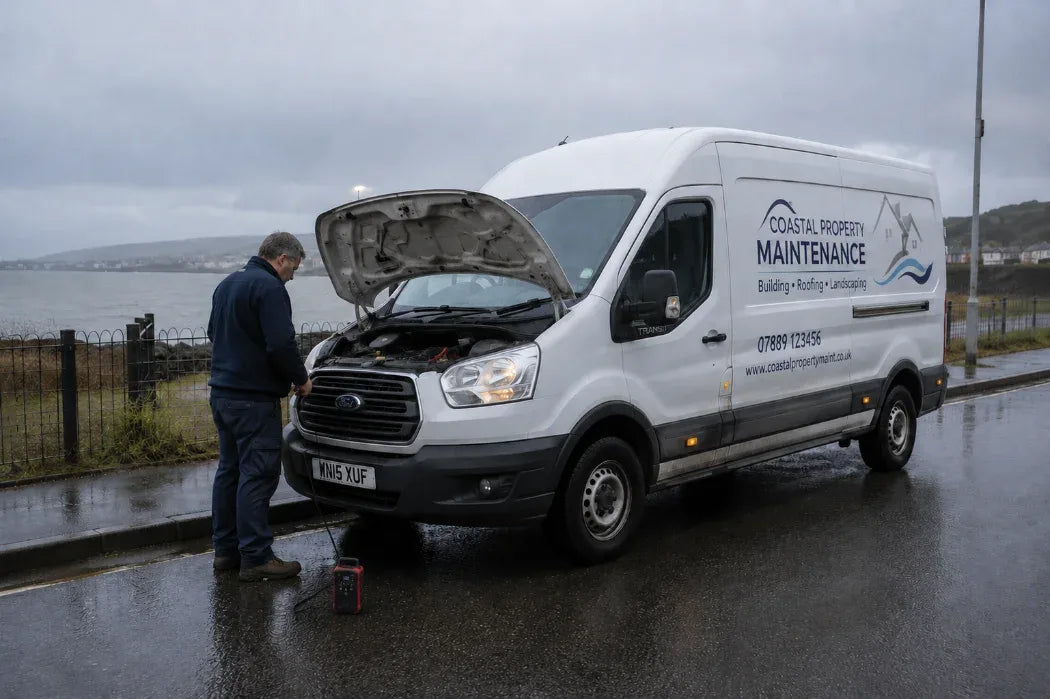
Three protections, for the part people worry about.
Crouched over an engine bay in the cold, it's easy to get the terminals the wrong way round. The unit is built to guard against that.
Built-in protection during operation, so a heavy draw doesn't become your problem to manage.
The compressor is rated for 5–20 minutes of continuous running, and protection is designed to step in before heat becomes an issue.